
Redoing Ceramic Garden Mushrooms


Hello! I have decided to redo this cute ceramic garden mushroom. It was hanging out in my front yard for a few years, but it's slowly not looking so great. Not one white spot left on any of the mushrooms. It was time for it to go. 

Since this piece was outside, it was subject to a lot of the outdoor elements.  This means it needed a good cleaning. May I also suggest doing that outside. I didn't and yeah, I should have. 😉


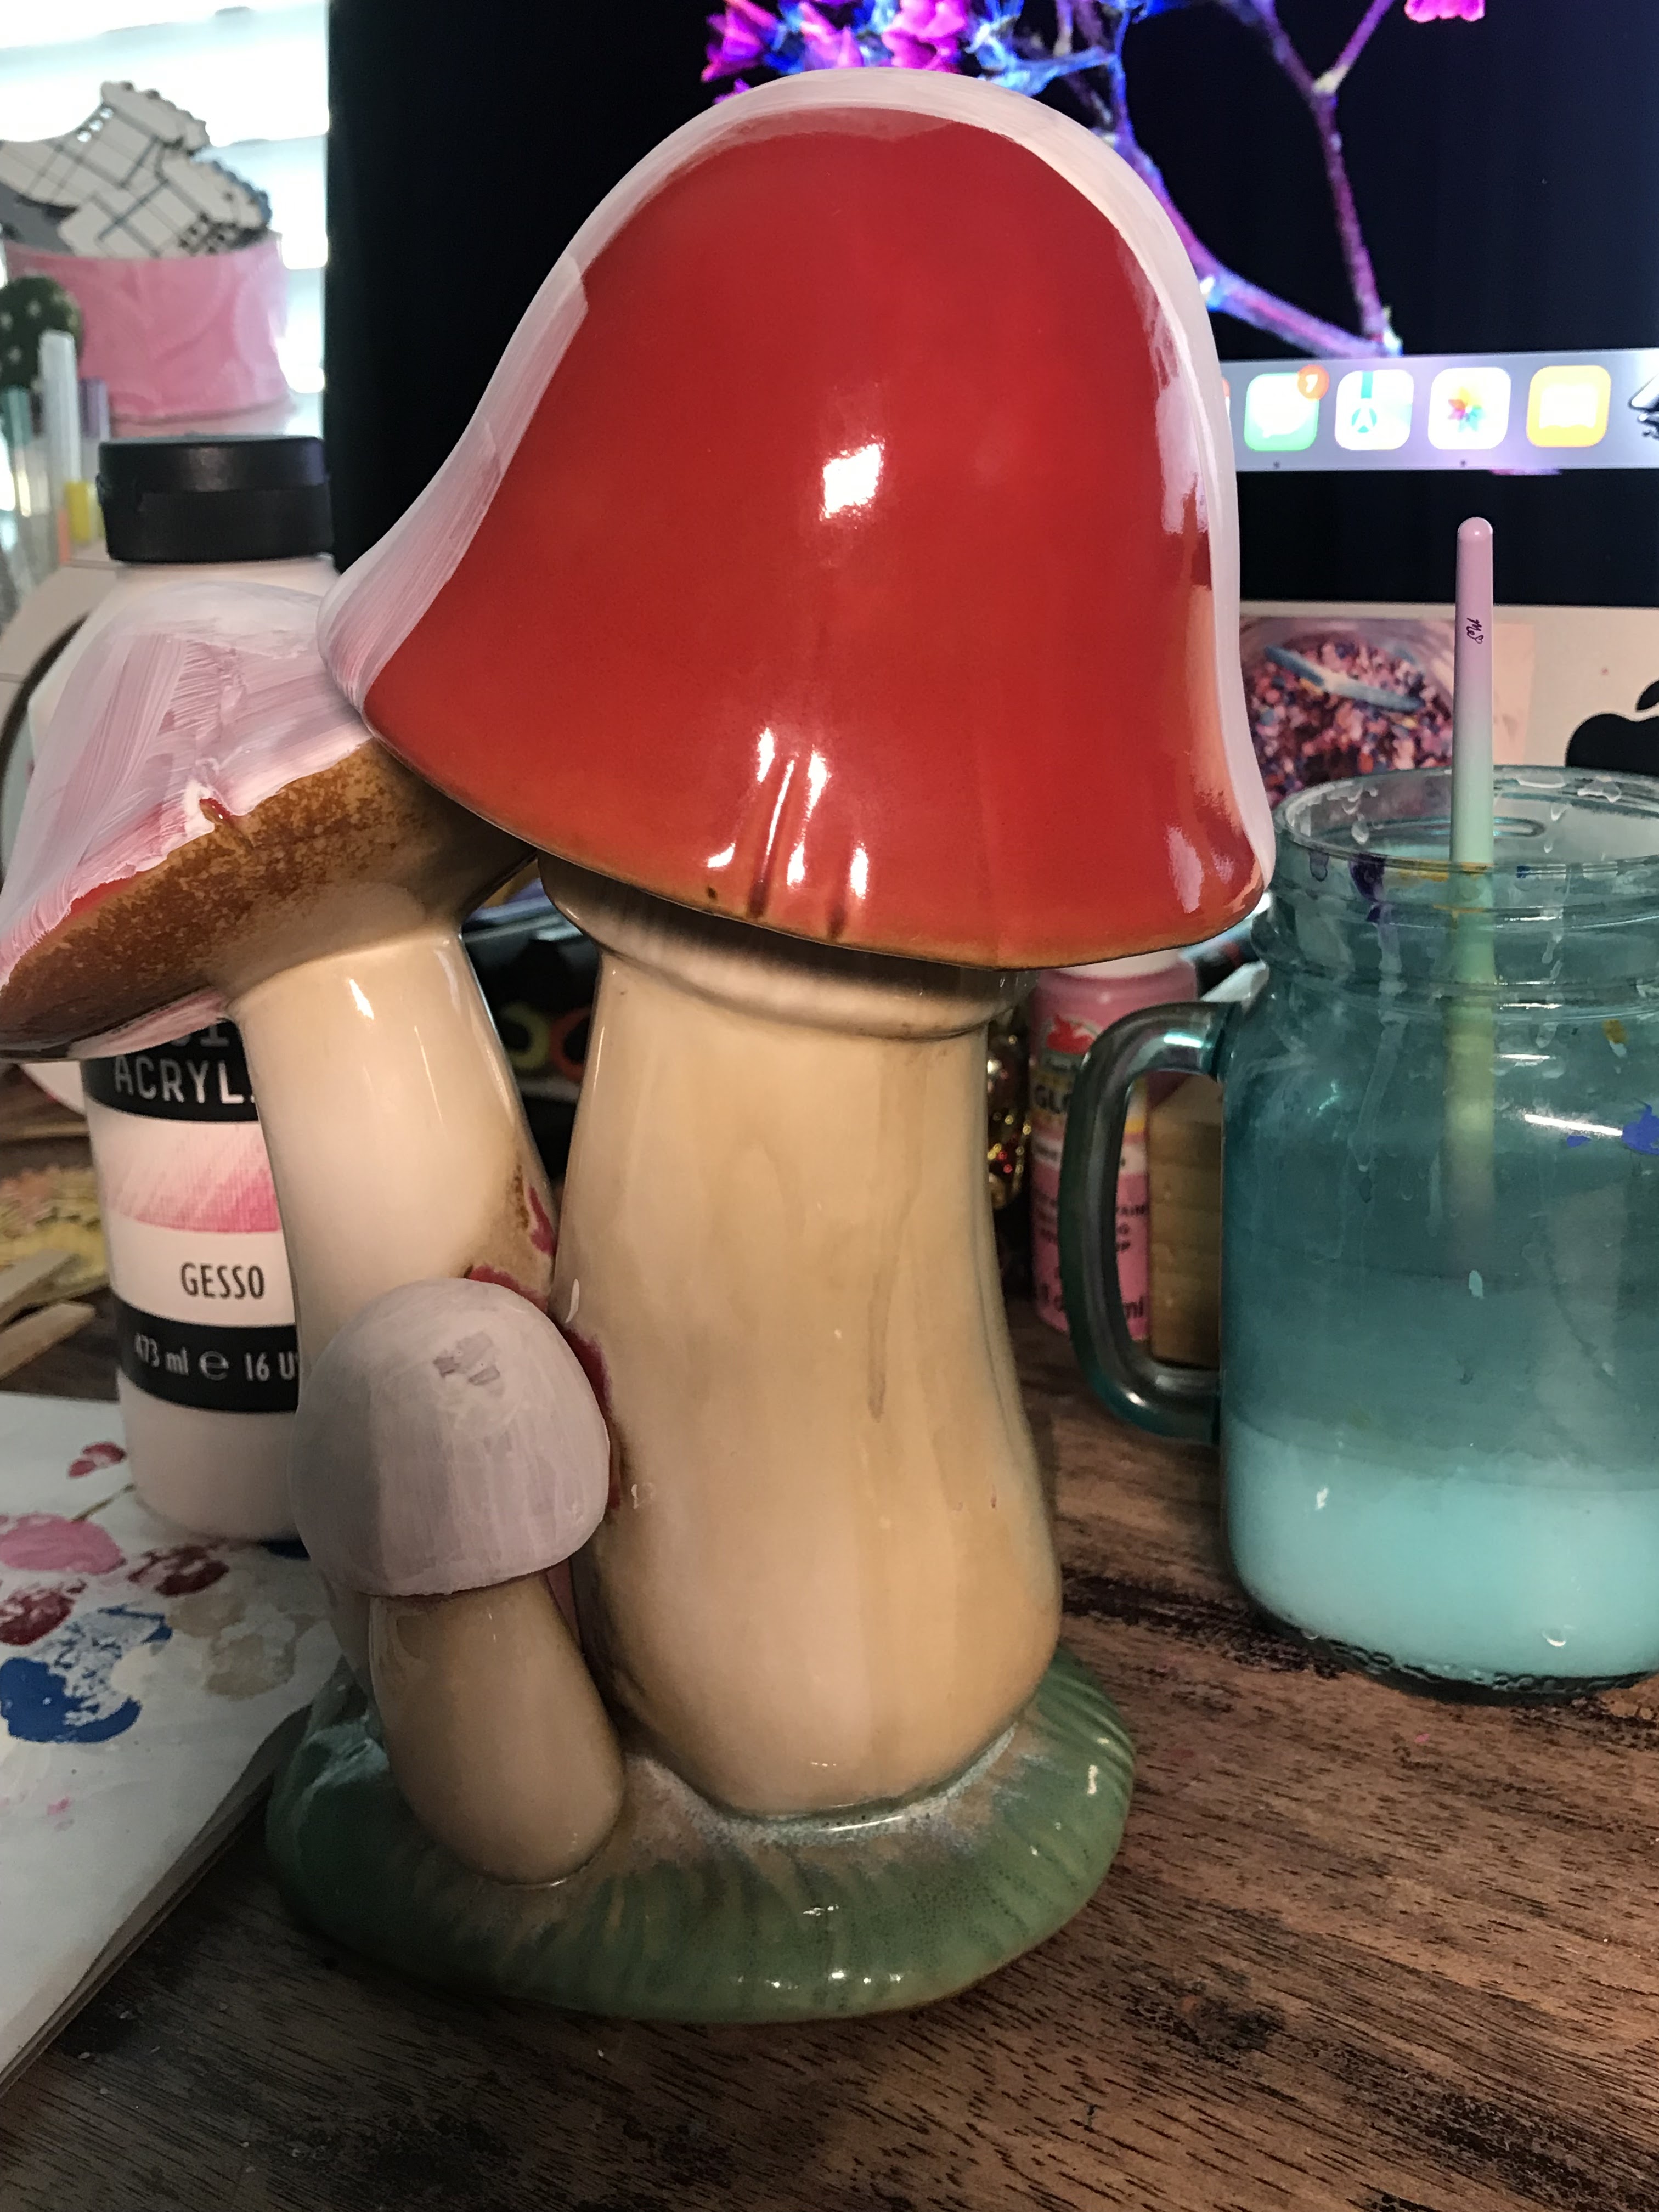
Next, I wiped this down with some rubbing alcohol so that I could add a coat of gesso by Liquitex. 
Side note: This one bottle has definitely seen better days. 😂


For now, I have decided to just redo the top portion of the mushrooms. I could always go back and do the bottom portion if I change my mind. So for now, just the mushroom tops are being gesso-ed and prepped for paint. 😊


This is it before being sealed. To get these colors, I mixed paints I had on hand. I'm trying to use up some of my older paints so this just works for me right now. 😅 


Many coats of Rust-Oleum was used in clear gloss to seal it. 


Once it was sealed the colors seemed to be brighter. I really like it, it's so pretty, and I can't wait to place it in its new place in our home. 


I hope you enjoyed this project, and until next time ...

-Maddie


Comments

Popular posts from this blog

Can I laser on glass?

Conversation with myself:  Can I laser on glass? Well, I don't know, I haven't tried.  😂  It was my first attempt at lasering on glass. Next time I think I will make some minor setting adjustments. Depending on the design, I may want the image to be a bit clearer/sharper. But, since this design is a bit cute, spooky and going to be used as Halloween decor in our home, it works. The black roses were made using my laser, wood with acrylic paint. I know this is short but I hope it was sweet.  I'm not sure where October went, but I wish you and yours a fun and safe Halloween. Thank you for stopping by and,  Until next time, Maddie

Gold Leafing a Boutonniere

  It was my first time to do a boutonniere and I thought I would try adding some gold leaf foil to a few roses and see how they turned out. They came out very nice, I thought.  Some Supplies used:    Add the adhesive where you want. You can put as much or little as you'd like.  I was going for a bit of a drip on one of them.  I played around adding some gold leaf foil to a few leaves.  It was a big rose and a rather heavy one at that, so I decided to just do the one and leave the other rose out. It would have been too bulky. Using some floral tape, floral wire and some hot glue I put the boutonniere together. For a soft more vintage look I added some vintage lace I had on hand and finished it off with some ribbon.   This boutonniere was a hit and it was a fun piece to do.  Thanks for popping in, Maddie

Are we Sleighin' or Slayin' ?

I hope you are having a great start to this new year! As I was putting up Christmas I thought about how I had not shown this cute wood round sign. I love that it can go up in October and stay up through Christmas. This sign gives me all the Hallmark feelings.  I've been contemplating making a few of these to list. 🤔 I will get back to you on that.  Speaking of Christmas - Anyone feel like it just zoomed right by at a high rate of speed this year? I totally did.   Materials used: Wood, acrylic paint, gold, green and red foil paper and some rope and ribbon for hanging. Everything cut on my laser.   Thank you for swingin' by. Until next time, Maddie