I apologize for the delay. I haven't had time to do DIY: step by step, but I wanted to let you know that I'm still here and I have been busy creating things. This post will show some of the projects I have been doing or are in the process of doing. I hope you enjoy.


This is one of my favorite ones: I've been purging stuff from when my kids were younger, and fell upon some of their rubber animal toys.
Bad News: I forgot to take pictures of them before painting them.
Good News: I have a few I haven't done yet, ha. I just want to give you an idea of what I was working with. If you have kids, you probably have this or something close to this already. 😊


I did prime them before I painted them. They would be lovely in an office on a couple of books. The great part is that although they look fragile, they aren't. 😀 I really, really love how these came out and can't wait to finish the little I have left.
I was inspired by SEI Crafts for this craft. You can find the DIY here. I just made them into tags. I used paper bags that you get from grocery store for the backing and sewed all the papers pieces onto the paper bag, hole punched the top and added ribbon. I will be using these for any gifts I had out. I love the handmade look.


My daughters love everything avocados and stickers right now. They purchased some stickers and wanted clothes pin clips to hang photos/art. So here is one of themI made using their avacado sticker. I just added some small strong magnets to the back, so it could be used on their magnetic boards.

Organic Lavender Saches: So fun and easy to make. Make great gifts, but make sure to make a couple for yourself, because they smell so good. I made these for my daughters to put in their dance bags. Because those bags can really leave a smell trail. 😂

One of my kids is very much into making coffee. So I was practicing this method I have been seeing on You Tube by several different crafters. So I busted out with my printer, foil thermal paper, and my laminator. I then added a little confetti and hung it near her coffee station.


Meet Maybelle. She's been with our family since my daughter received her when she was in elementary, approximately 8-9 years. haha Her bow was coming off, so we had to bring in some reenforcement. Since we were fixing her up, I decided to add a little bling. 😂

I used disregarded cardboard boxes from old games and some from boxes I received from online mail orders. I love the texture some of them have. I did prime the side that had writing, but you could easily mod podge using old fabric pieces or papers. I haven't finished all of them yet, but will do a post when I'm done.

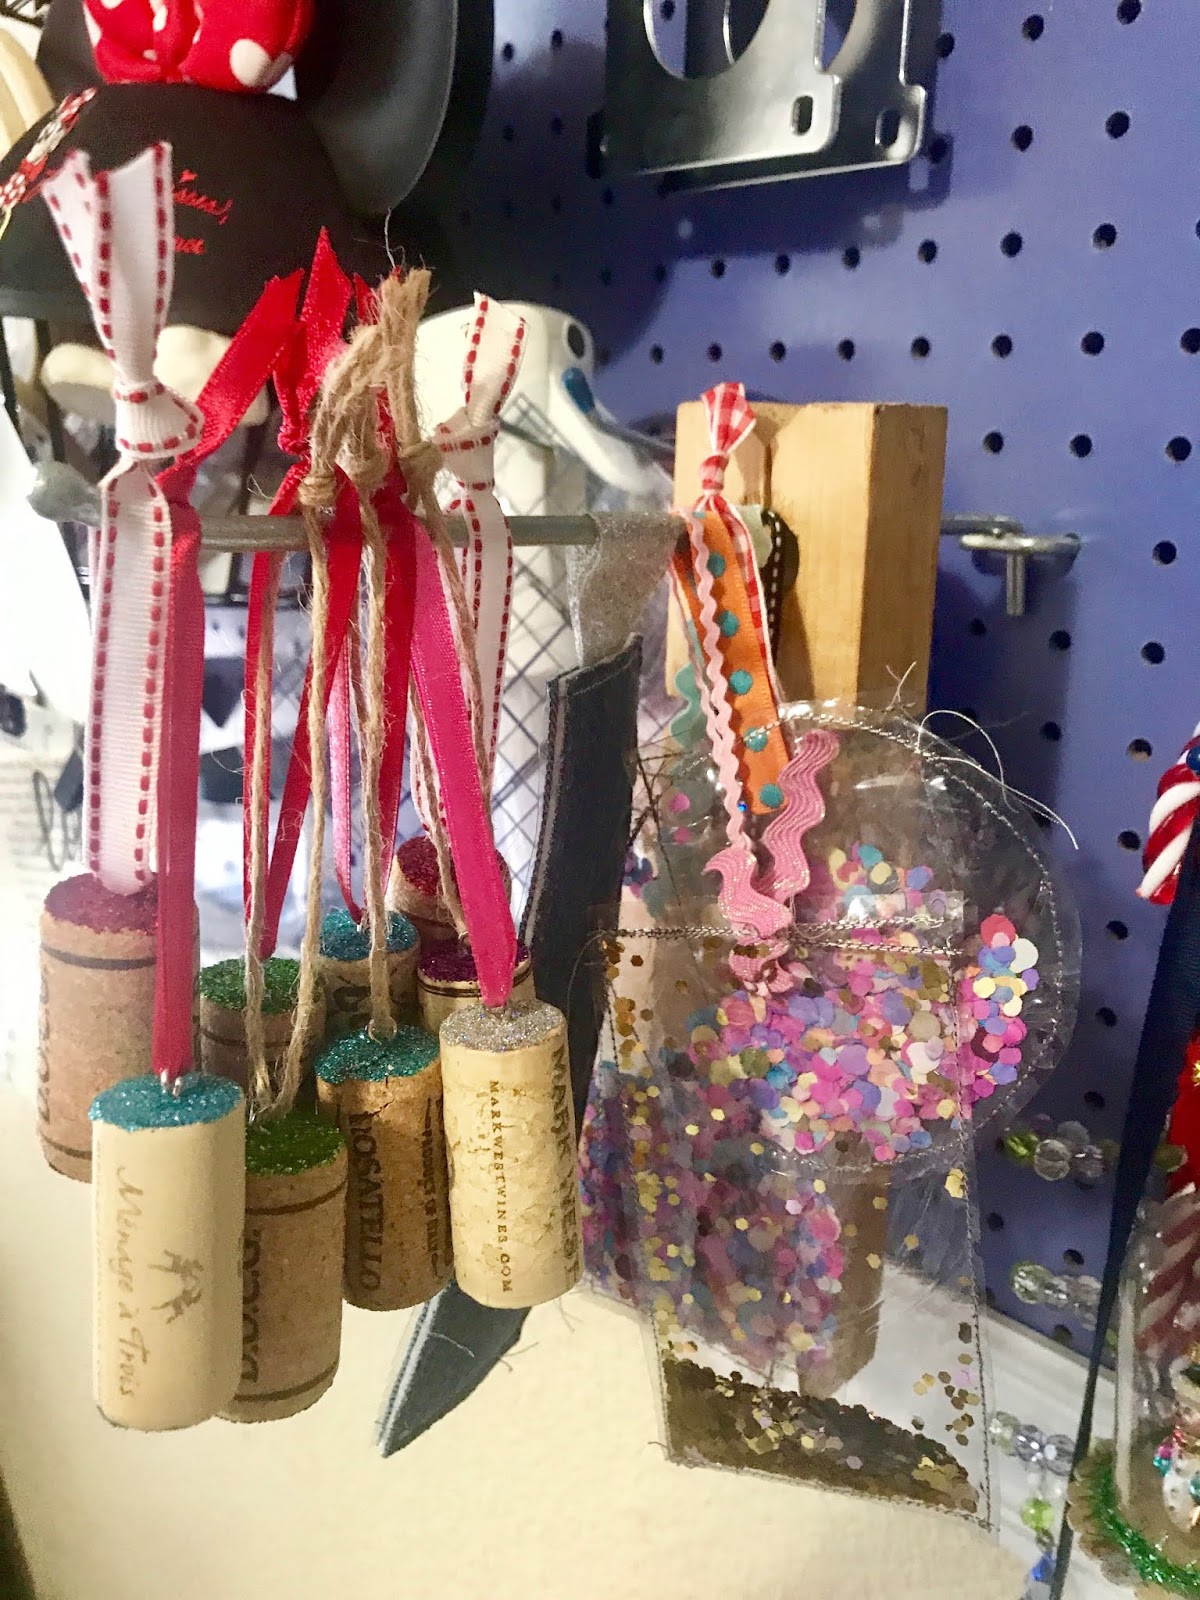
I made some ornaments/gift tags with wine corks I feel lucky to have some friends think of me and save them for me. Some of them were made with clear vinyl and stitched right up, some with glitter and other with confetti. These also make great bookmakers. 😀 In one of them, I added a cute note with some stamps I had on hand.
Here are some ornaments and coasters I made with my embroidery machine. I have been making them for family and friends. Aren't they the cutest. The red/white/black plaid and the jean fabrics are from old clothing outgrown by my kids. I like to recycle/upcycle when and where I can.


Shodo: I plan on learning the art of Shodo. Something about it seems so peaceful and beautiful. I'm hoping I will be able to share what I learn with you soon.

Until next time .... HAPPY CRAFTING! xox
Comments