
CANDYTOPIA

I finally decided to see what the fuss was all about. I had been hearing about this place for what seemed like forever. In reality, probably over a month, but still. The school year is almost up and before the crowds came out, I decided to take my girls to Candytopia.


I mean what child doesn't wish they could see a real life Willy Wonka Factory, right? Well, this isn't that exactly, but it's still pretty neat. I love anything whimsical, and to me this was whimsical.


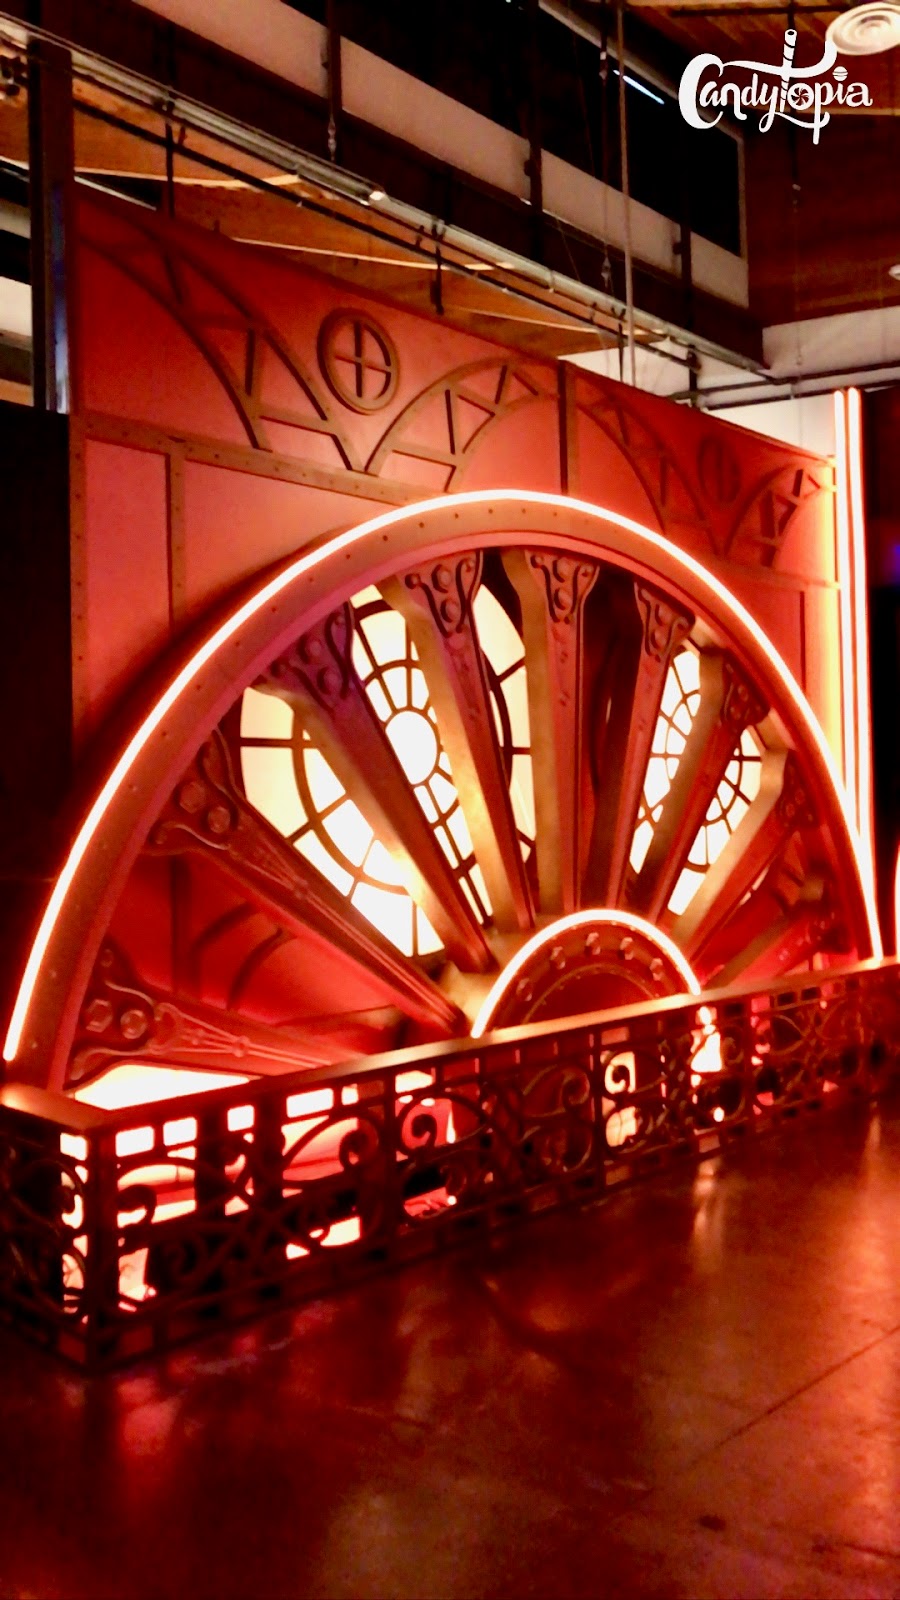
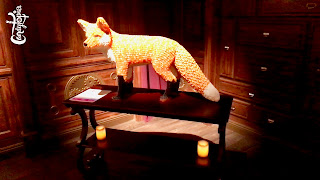
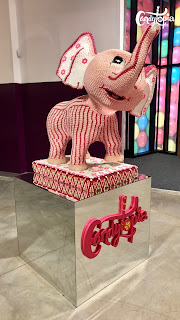
The art exhibit was impressive. Every handmade art work let you know: How many pieces of candy it took; What candy was used; How many hours it took the artist; and How many calories all the pieces of candy totaled. Some were hung on the walls, others were part of the exhibit. We were allowed to touch them and they felt kinda cool.


Here are few of mine and my girls favorite art pieces:


This tree kinda of reminded me of the evil apple tree on the Wizard of Oz. 


Snails ... because why not?!


Candytopia is taking place in Dallas, so I was super excited to see Big Tex as an art exhibit. He is iconic to the DFW area. 


Yup, there was a room where lots of confetti exploded everywhere, and we loved every moment of it!! It was everywhere and we didn't care. There is also a marshmallow pit that my girls had fun jumping in.

The whole experience will only take about an hour or so to get through, but it was was an enjoyable trip for us. 

Comments

Popular posts from this blog

Can I laser on glass?

Conversation with myself:  Can I laser on glass? Well, I don't know, I haven't tried.  😂  It was my first attempt at lasering on glass. Next time I think I will make some minor setting adjustments. Depending on the design, I may want the image to be a bit clearer/sharper. But, since this design is a bit cute, spooky and going to be used as Halloween decor in our home, it works. The black roses were made using my laser, wood with acrylic paint. I know this is short but I hope it was sweet.  I'm not sure where October went, but I wish you and yours a fun and safe Halloween. Thank you for stopping by and,  Until next time, Maddie

Gold Leafing a Boutonniere

  It was my first time to do a boutonniere and I thought I would try adding some gold leaf foil to a few roses and see how they turned out. They came out very nice, I thought.  Some Supplies used:    Add the adhesive where you want. You can put as much or little as you'd like.  I was going for a bit of a drip on one of them.  I played around adding some gold leaf foil to a few leaves.  It was a big rose and a rather heavy one at that, so I decided to just do the one and leave the other rose out. It would have been too bulky. Using some floral tape, floral wire and some hot glue I put the boutonniere together. For a soft more vintage look I added some vintage lace I had on hand and finished it off with some ribbon.   This boutonniere was a hit and it was a fun piece to do.  Thanks for popping in, Maddie

Are we Sleighin' or Slayin' ?

I hope you are having a great start to this new year! As I was putting up Christmas I thought about how I had not shown this cute wood round sign. I love that it can go up in October and stay up through Christmas. This sign gives me all the Hallmark feelings.  I've been contemplating making a few of these to list. 🤔 I will get back to you on that.  Speaking of Christmas - Anyone feel like it just zoomed right by at a high rate of speed this year? I totally did.   Materials used: Wood, acrylic paint, gold, green and red foil paper and some rope and ribbon for hanging. Everything cut on my laser.   Thank you for swingin' by. Until next time, Maddie